The following guideline is an overview of the proper steps involved when installing interlocking concrete pavers where no special circumstances are present. Your specific project will be unique and may require additional steps. See the entire selection of Bella Vista Concrete Pavers.
It is important to provide a well compacted, stable base on which to begin the paver installation. In some cases, this will require extensive excavation of unsuitable sub-grade material.
Excavate all unsuitable, unstable, or unconsolidated sub-grade material. When estimating the depth of excavation, consider the final grade of the project. Add the height of the paver unit, the depth of bedding sand, and the thickness of the compacted base material to get an estimate of needed depth.
Thickness of Compacted Base:
Fill the excavated site with the appropriate amount of paver base material (Class II Road Base is recommended), and compact using a vibrating plate compactor. The base must be well compacted and level to provide a smooth, even surface on which to lay the bedding sand.
NOTE: When preparing the grade of the base, be sure to provide a 1/8"–1/4" of drop per foot for proper drainage.
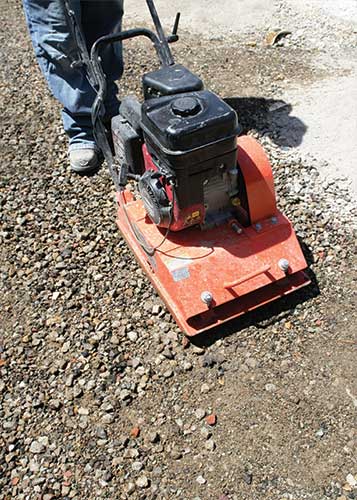
Compacting the Base
The pavers will be set in a bed of sand. It is this sand bedding that will provide final leveling properties as well as help secure the paver units in place.
Clean, sharp concrete sand, 1" deep, should be used for the sand bedding. To determine the amount of sand needed, allow 1 cubic yard of sand per 300sqft. For help estimated the amount of product needed, contact an RCP Block & Brick near you.
TIP: "Screeding" - In order to get a 1" depth of bedding sand, use two pieces of 10' long 3/4" metal pipe (outside diameter should be 1") and a straight wood 2x4. Lay the pipes parallel to each other, directly on the base material, and approximately 6' apart. Loosely spread a layer of bedding sand over these "screed pipe" so that it fills slightly above the top of the pipe. This will avoid compaction before the pavers are laid. Positioning yourself between the pipes. Place a wood 2x4 perpendicular across the screed pipes. Slowly pull the 2x4 towards you while sliding the wood right and left in a repetitive motion. This will help to level the sand more accurately. This process will leave a one inch layer of sand. Remove screeding pipes and fill in void with loose sand. Remove any excess sand.
IMPORTANT: Do NOT walk on or disturb screeded sand bed
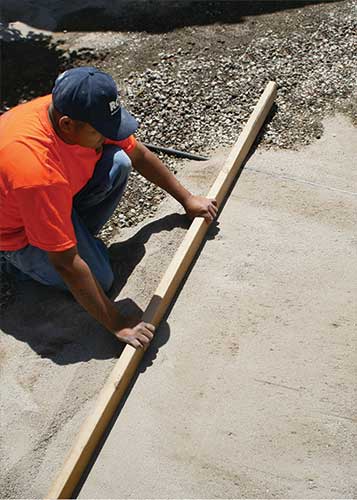
Screeding the Bedding Sand
A stable edge restraint is necessary to eliminate any lateral movement of your pavers and sand bedding. Edge restraints can be either and existing hard edge (such as the side of a house), vinyl molded restraint, or a concrete restraint.
If an existing hard edge restraint (such as the side of a house) does not exist, you will need to either install a pre-manufactured polyethylene restraint such as "Edge-Pro: or install a concrete restraint.
Edge-Pro: Use Edge-Pro Paver Restraint on the edges and curves. Secure the edging to the base material using long landscape spikes. These edges can be put in place prior to the laying of the field pavers.
Concrete Restraint: To achieve correct height, concrete restraints should be installed after paver field is laid, but just before you reach the position of where the edge restraint will be. Pavers are "wet set" into concrete to create a concrete border. Use 2 parts Class II Road Base to 1 part cement; add water and mix until workable; or use pre-blended concrete mix . Trowel into place. Concrete restraints should be a minimum of 8" wide x 7" deep.
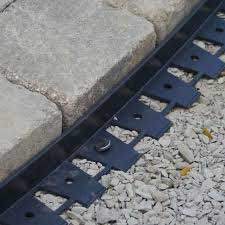
EdgePro Paver Edging
It is now time to begin laying the pavers onto the bedding sand and fitting them into the desired area of your paver project.
When laying the pavers onto the bedding sand, you want to work in a forward motion. Start the process in either a 90° corner or within the field by using a pre set string to guide straightness of pavers. Do NOT step on the bedding sand.
Place pavers flat on the sand bed. Do not tilt the pavers into place as this will disturb the level of the bedding sand. When a row or pattern is in place, use them as a guide for subsequent pavers. The spacing between the pavers should be hand tight (pavers have built-in spacers on their edges to provide a 1/8" joint).
PRO TIP: When laying pavers, check every few feet with a string line to maintain a straight line.
As the field moves closer to the edge restraint or concrete border, cutting may be required to fit the pavers to the desired space. Cutting of pavers should be done with a diamond masonry blade and saw or if needed, it can be accomplished using a block splitter, but a splitter will not allow the precision cut provided by a masonry saw.
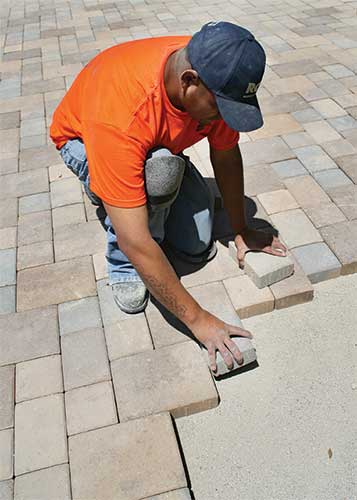
Laying the Paver Field
Once the entire paver field and borders have been placed, you will need to run a vibrating plate compactor over the paver project to being the interlocking process.
Rent a vibrating plate compactor from your local equipment rental company. Once the pavers and border have been placed, spread a light layer of sand over the pavers and make a single pass using this plate compactor.
This single pass will help set the pavers into the bedding sand, and cause some sand to move up between the joints of the pavers. This is the initial stage of the "interlock".
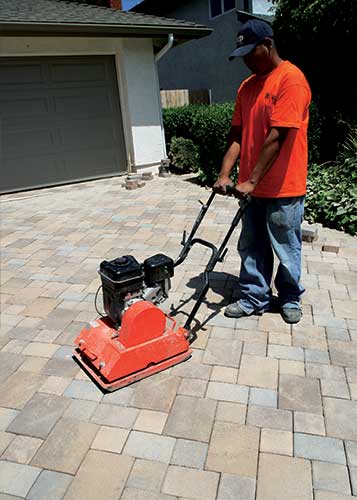
Vibrating Pavers with Plate Compactor
The second step of the interlocking process involves working sand down between the paver joints to achieve final "lock-up".
Spread dry paver joint sand or masonry sand over the surface of the paver area approximately 1/4" deep. Using the vibrating plate compactor, pass over the sanded pavers to allow sand to properly fill the voids between the pavers.
You will generally need to run the plate compactor over the pavers 2 or 3 times, or until the pavers no longer settle into the sand bedding. This process will achieve final lock-up and completely fill the voids between the pavers.
Sweep remaining sand into voids until they are completely filled. A light pass with a weed blower will help rid the surface of excess sand and dust. Be careful to insure the joint sand remains in the voids.
NOTE: Sand is non-cosmetic - Sweep or blow sand below the decorative edge.
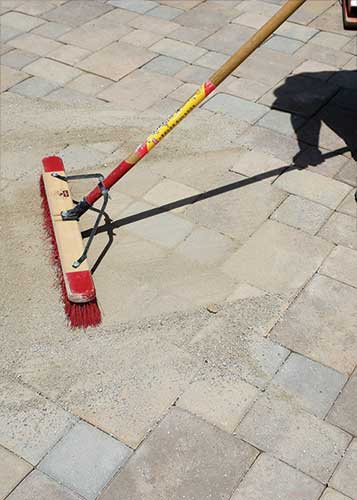
Sweeping Joint Sand In Between Pavers
Adding a paver sealer will help both protect the pavers, but will also enhance their appearance. RCP carries a full line of concrete paver sealers from leading manufacturers. For application instruction on concrete paver sealers, follow the instructions provided by the manufacturer.
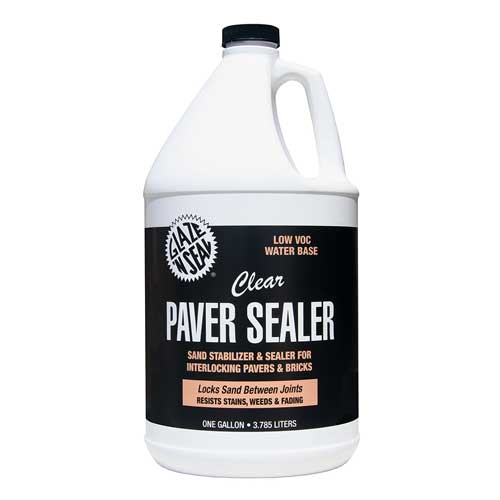
Apply a Paver Sealer per the Manufacturers Instructions